This guide will help you create and submit your recording to Canvas if you are using an Apple iOS or Andriod mobile device.
Further Help and Support
Recording your Video
Audio/video can be captured on a computer/laptop with the Panopto recording software providing a quick and easy way to record and upload your media in one process. You can then playback, edit or delete those files. By default only you and your tutor can see the recordings that you upload – they are not accessible to other students – and your tutor will advise you if this is not the case. Producing video/audio as part of your learning can give you a chance to work in a different format, develop valuable new skills, and is an opportunity for reflection. But if you’ve never done anything like this before it can feel like a daunting process. Don’t panic!
Tips before you start
Tip #1 - Do a practice run
Setup the area you are going to record in and do a dummy run. Once uploaded to Canvas make sure you can see yourself (if recording video) and, more importantly, HEAR yourself. You can make multiple submissions to Canvas and only the last submission will be considered as your final submission for the assignment.
Tip #2 – Test your audio!
The sound quality of your recording is more important than the visual quality – if your tutor cannot hear what you are saying it will be impossible to mark your work. You might be capturing your sound from a microphone built into your device, but try to carry out your recording in a quiet location. If necessary, close windows and doors. Position your microphone near to where you are sitting or standing. Review a short recording to check that everything is audible. There may be some hiss and background noise, but as long as your words are decipherable this will be enough.
Tip #3 – Lighting (a big one but worth considering if producing a video)
One error is thinking that a strong light source is needed and then positioning the camera so that the subject (the person being filmed) is in-between the camera and the light source. Cameras cannot cope with capturing detail in high-contrast images and so the subject ends up as just a silhouette.
To avoid becoming a silhouette, film so that the strongest light source (often natural light) is behind the camera, shining onto the subject’s face, not behind the subject shining onto the back of their head. Also, avoid having video screens in shot, unless they take up only a small portion of the frame, as the intense glare from the screen can confuse the automatic contrast/brightness controls on digital cameras.
Supported OS Versions:
- Android 9 and higher
- iOS 14 and higher
Mobile App
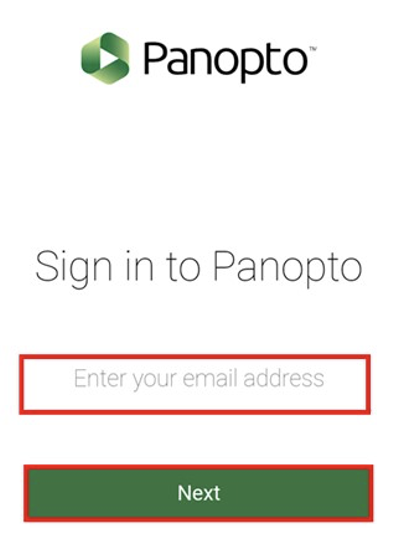
- Install the free mobile Panopto app
- Log in to the app using the email address associated with your Panopto account and select Next to complete the log-in process.
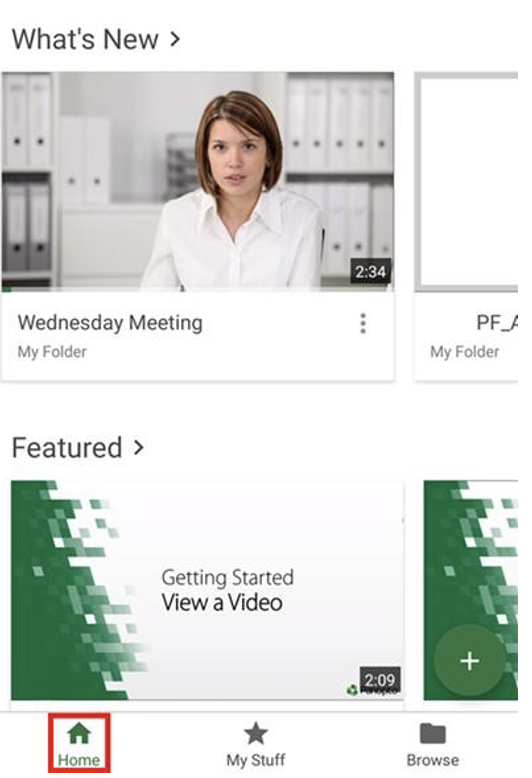
- After logging in, you will be directed to the app's homepage.
Navigating the App
At the bottom of the app, you will see three icons that correspond to the app's three main sections: Home, My Stuff, and Browse.
Home: Once you log in, you will be immediately taken to the app's homepage, referred to as Home. If you scroll down on this page, you will see the same sections as you would on your Panopto homepage, such as What's New, and Featured Videos. Note: Featured videos are set up by your organization.
Recording or Uploading a Video
Note: You will only be able to record and upload videos if you have Creator access to Panopto. If you are using Android 10 or lower, you can only record up to 4GB and we recommend that you upgrade to the latest version of Android.
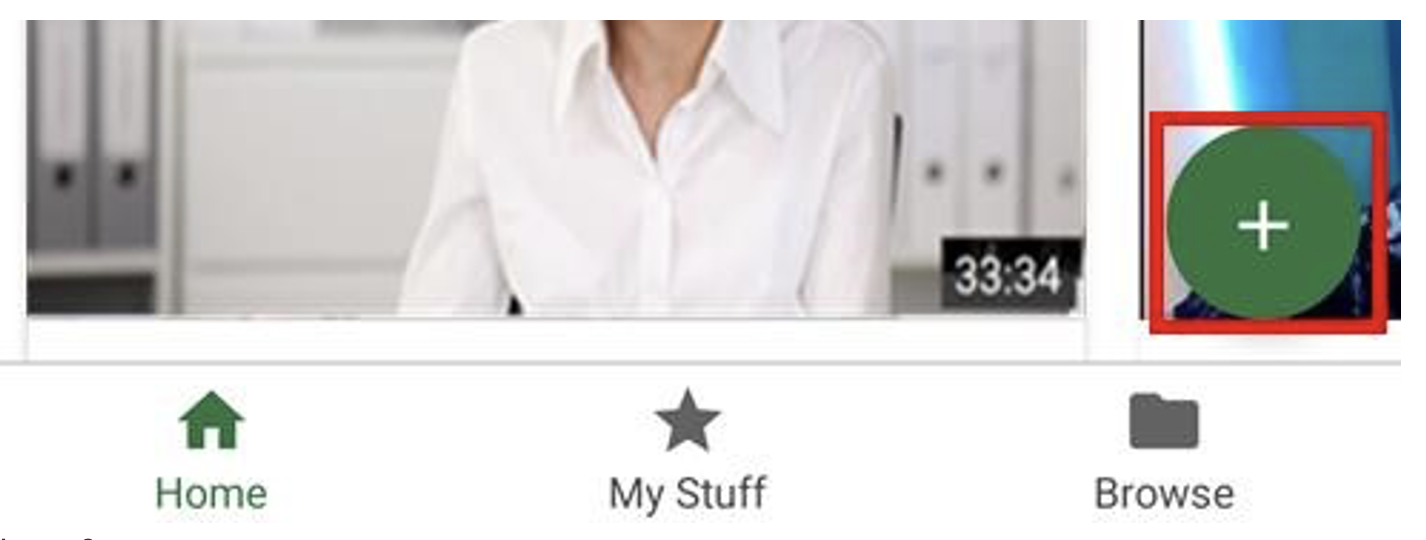
- In the app, select the plus + icon from the lower right corner.
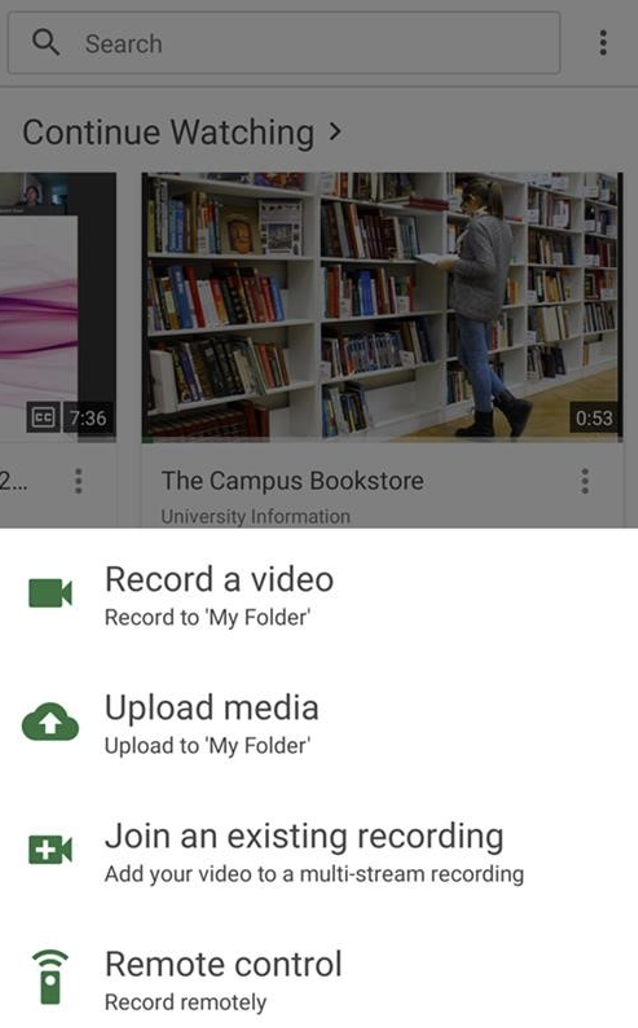
- Pop-up menu will appear at the bottom of your screen, select which you would like to do: Record a video or Upload media.
Record a video
If you select this option, your phone's camera will open. There are two options which appear on either side of the Record button:
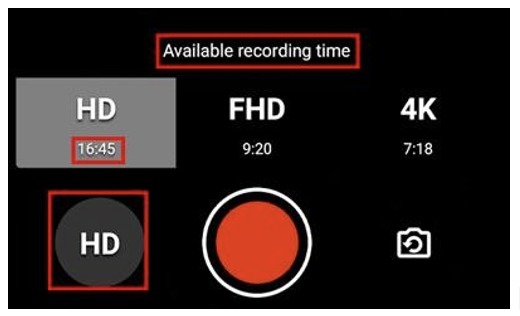
- Video Quality Options: By selecting the quality button on the lower-left corner of the camera, you can choose between High Definition (HD), Full High Definition (FHD), or 4K Resolution (4K) as the recording quality. Under each option, the Available recording time, in minutes, is listed .Note: The available recording time is only limited by the available space on the user’s device. While recording, the remaining recording time will also appear. Once the limit is reached, the recording automatically stops and a pop-up message will appear indicating that you are out of available space. If this happens, please note that your video will still be uploaded.
- Switch cameras: By selecting the switch cameras icon in the lower-right corner of the camera, you can switch which way your camera is facing.
- Once you select the Stop button on your camera, two options will appear. If you want to re-record your video, select Retake or you select Done to start the upload. If you select Done, you will see that the video will appear in your Recent Uploads as it prepares to upload.
Upload media
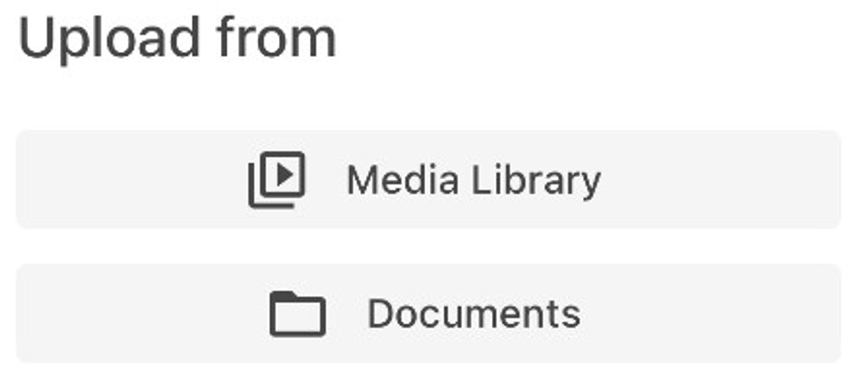
If you select this option, the Files feature on your phone will open, allowing you to select and upload media. Note: For iOS users, a pop-up window will appear allowing you to pick between the media library in your phone and iOS files.
Upload Process
You will also see the same progress updates in a bar that appears at the top of your screen. Once an upload starts, you can continue to use the Panopto application, lock the device, or use other apps. The upload process will continue in the background.
Please note the following:
- iPhone users: Due to an iOS limitation, there is a short window of time, typically a few minutes, where you will need to stay in the app. The application will state Please stay in this app until you can exit. If you exit before this, you will get a notification to open the app again to continue the upload process.
- Android users: By default, Android sends notifications for background upload for each video chunk being uploaded. To disable these notifications, go to your phone's Settings, select Apps & Notifications, then select Notifications. Locate and select Panopto from the list of applications. On the screen that appears, slide the toggle to the right of Upload Service channel off.
- Videos created on the Panopto mobile app are deleted from local mobile storage after they have successfully processed in Panopto.
Submitting the recording in Canvas
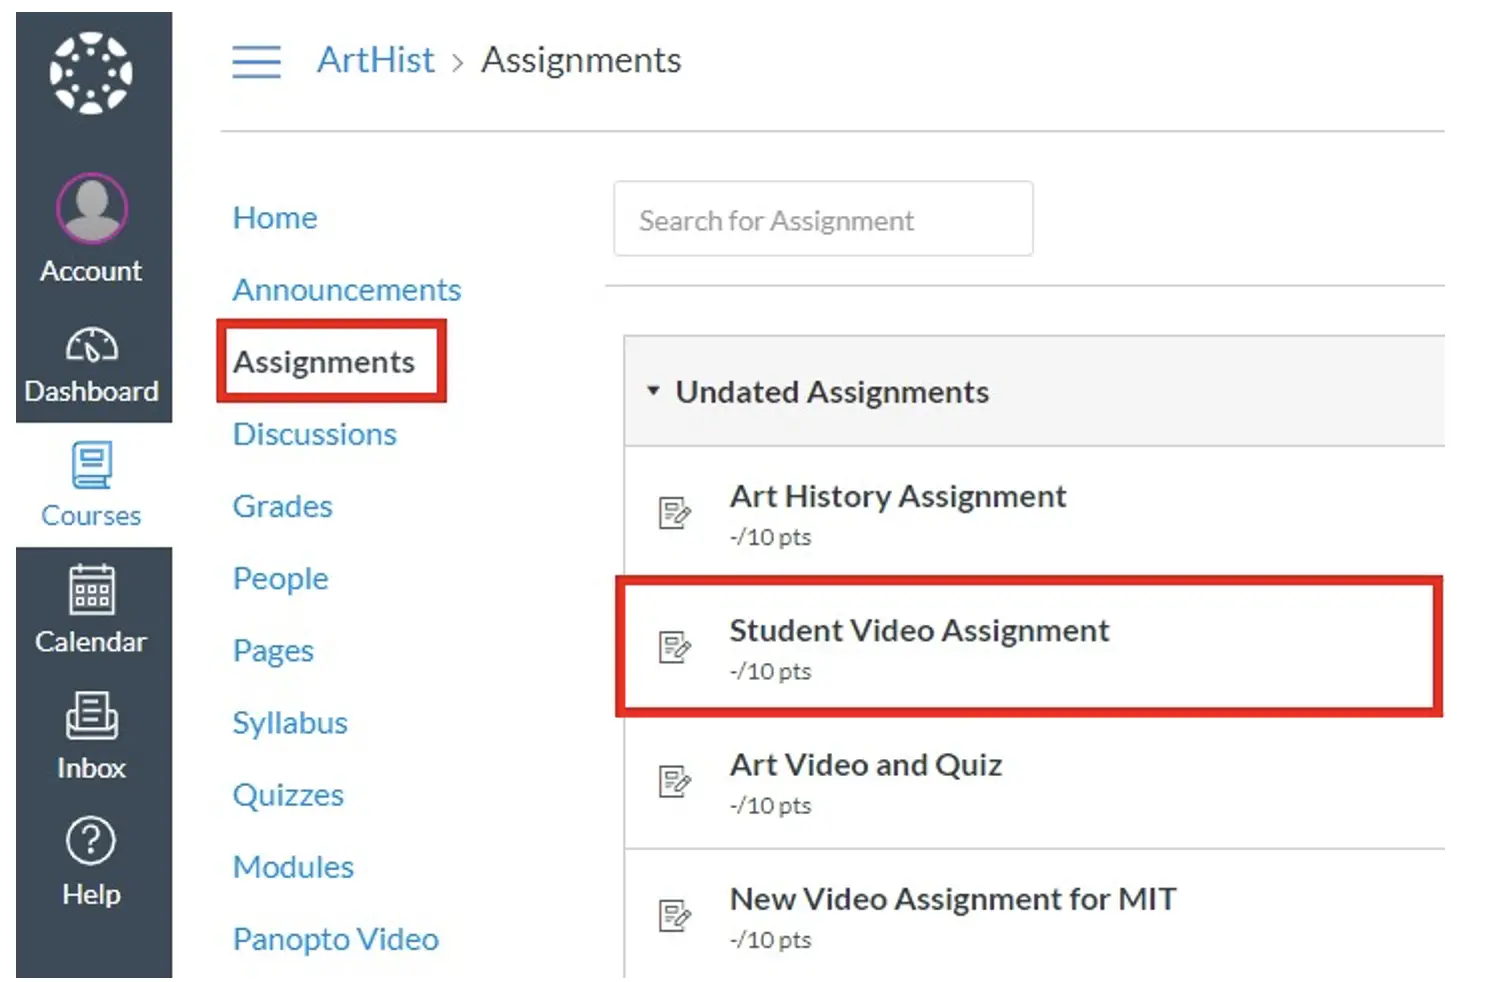
You have now uploaded the recording into Panopto, you now need to submit this recording in Canvas. Navigate to your course in Canvas and then to the Assignments tab on the left. Select the assignment that you need to submit.
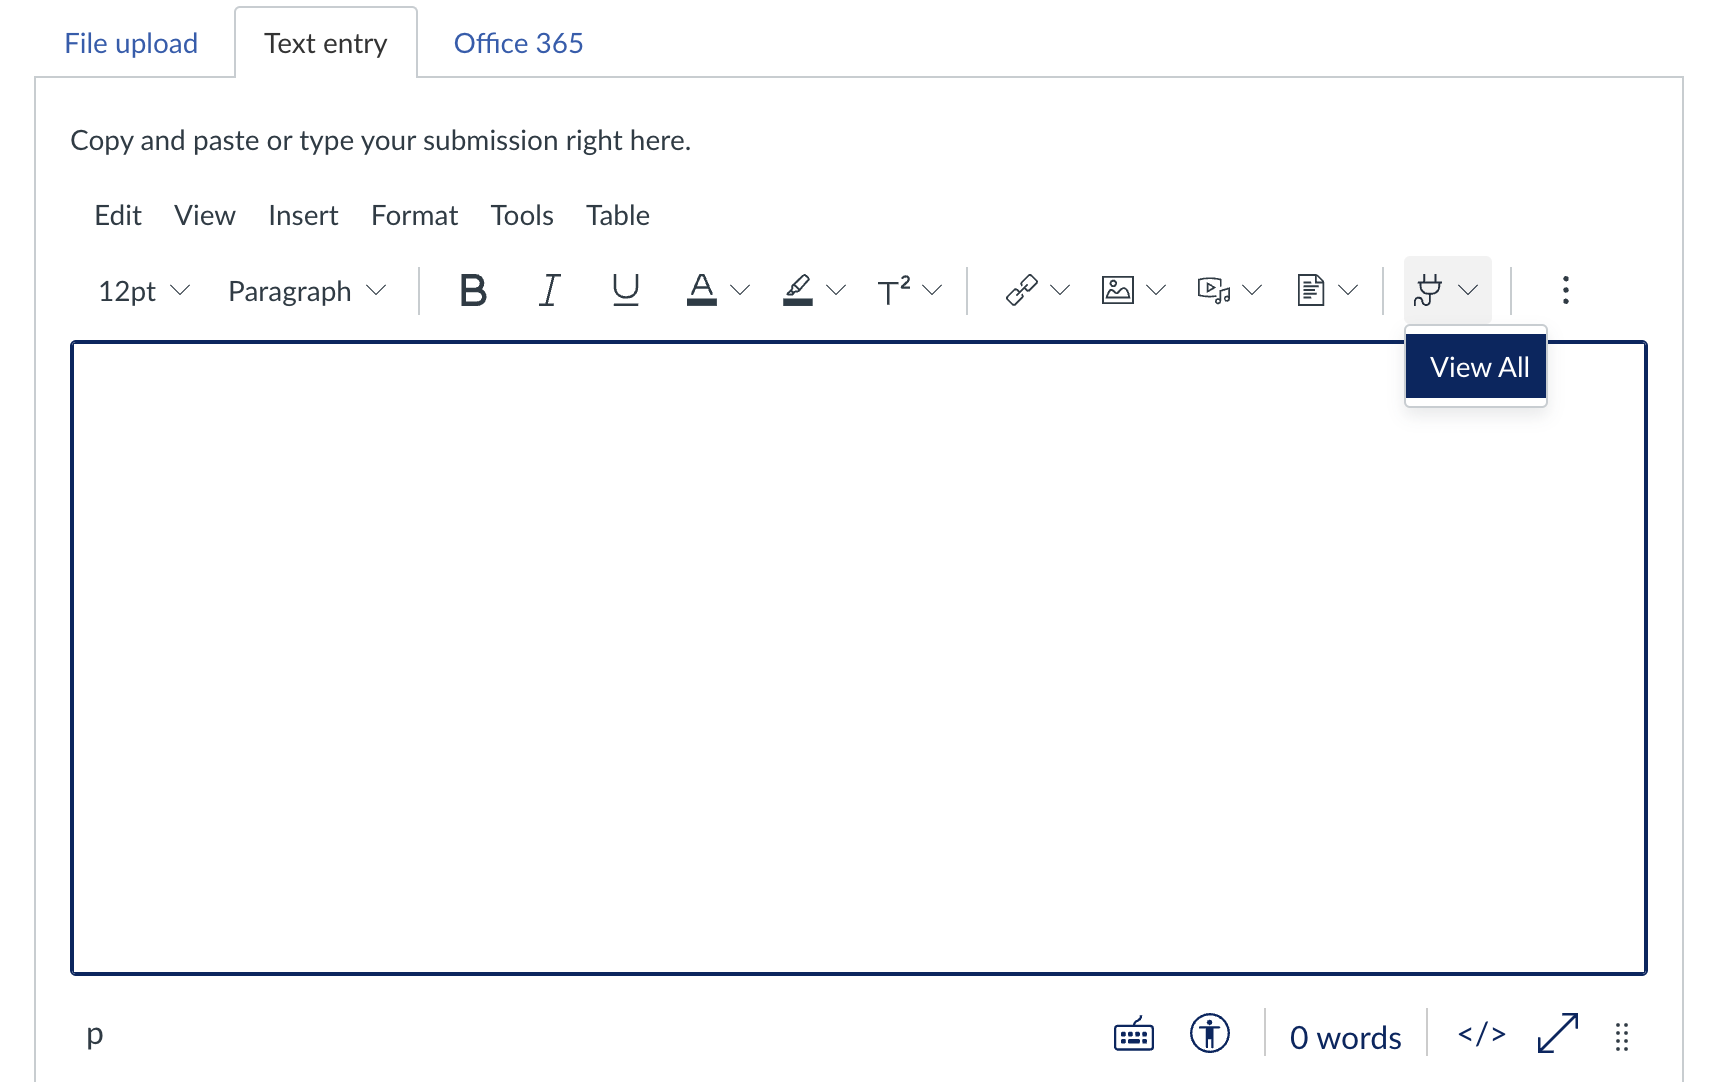
On the submission page, select the three vertical drops to expand the menu in the text editor menu bar, then select the plug icon.
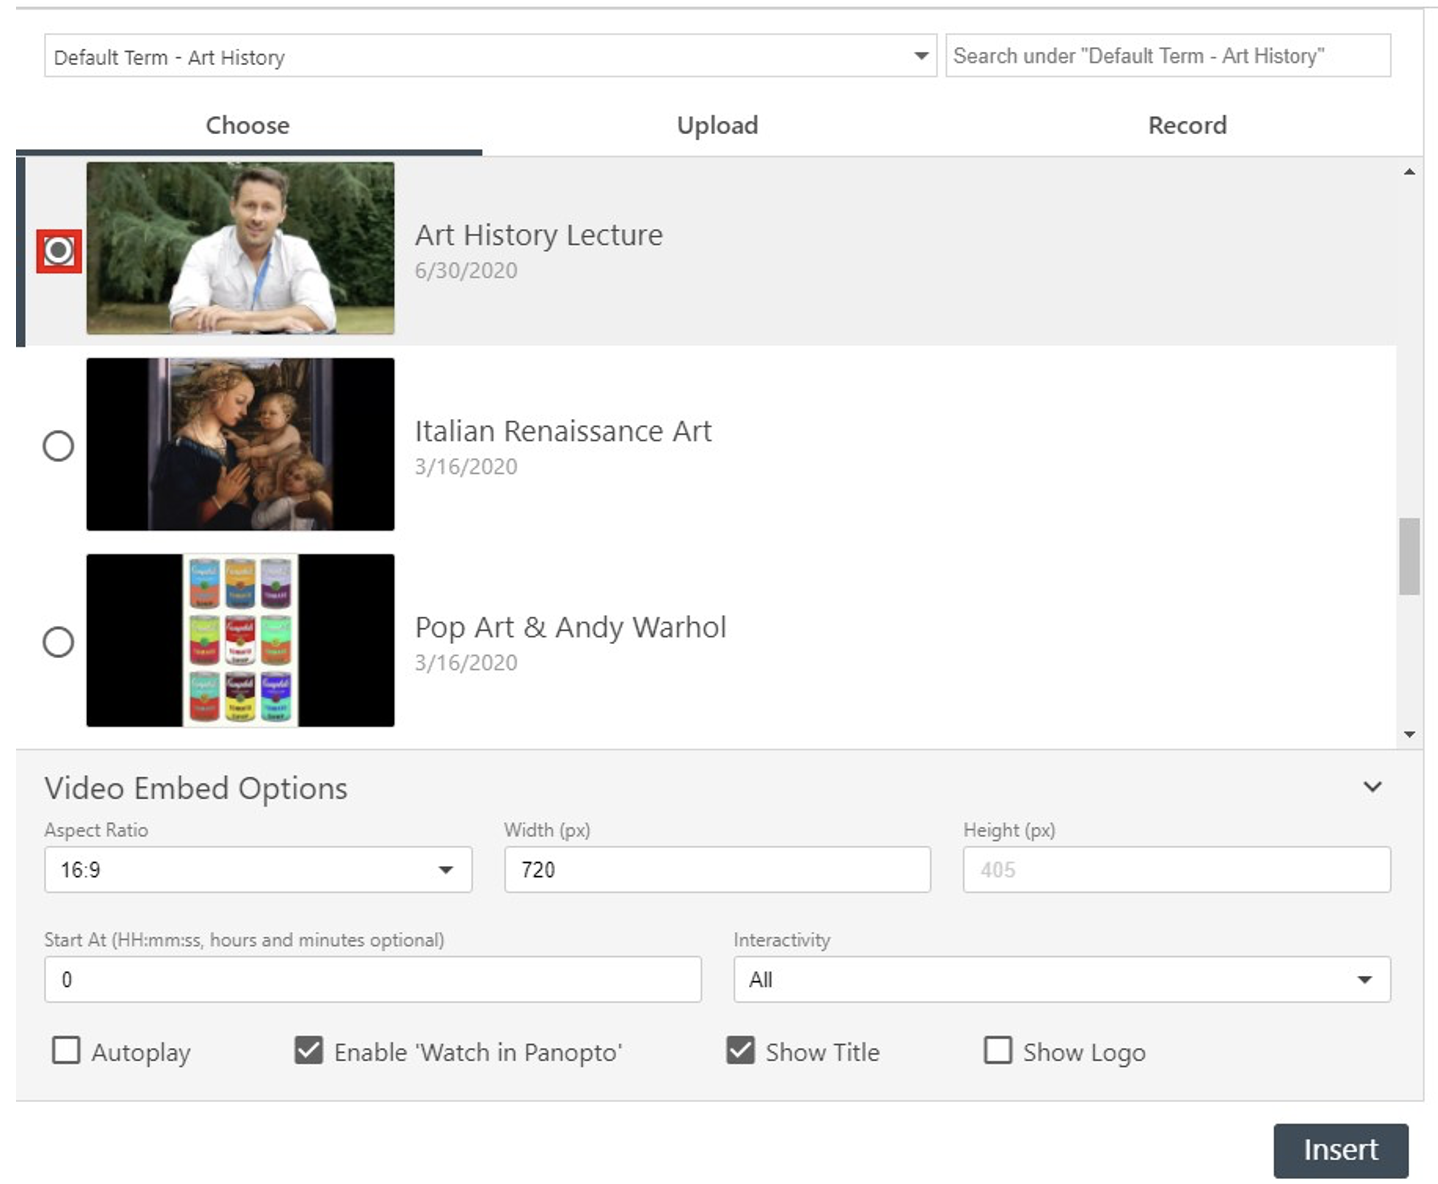
In the window that appears, Select App, search for and select the Panopto tool. This will open a window with your Panopto. Navigate to the folder in which your video was recorded, which will be either your personal folder or the course assignment folder, depending on how your instructor has this set up. Locate and select your video, then select Insert in the bottom right.
Once the assignment has been submitted, you will receive a message at the top of the screen saying that it has been successfully submitted. Your teacher will now be able to watch your Panopto recording.
Creating a recording on iOS or Andriod Device