Using Panopto in Redmonds Building
This guide will help you record your Lecture in the Redmonds building. Please note: we advise you use this guide to test the equipment in the room before running a session. Not all rooms may have the same set up.
The rooms in this building tend to have a webcam on the monitor, HD camera mounted on the celling, Wolfvision document camera and Revolab Microphone.
- Click on the green ‘JMU App Player’ and search for ‘Panopto’.
- Launch the player to install it.
- Folder: Select ‘Myfolder’ from the folder dropdown list
- Video: Select ‘None’ to stop the camera recording or Sandberg USB Webcam Pro’ to record using the screen mounted webcam.
- Audio: Select ‘Line in (Conexant HD Audio)’ to capture audio from the Revolab microphone
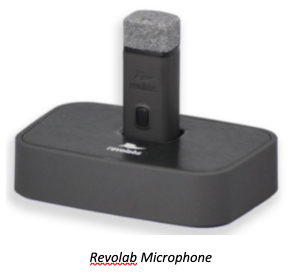
- Microphone: Pick up the microphone. Check the audio level - Mute button is on the side of the mic, a RED light means muted – GREEN unmuted. Attach the microphone to your lanyard
- Inform the students: It is important to inform students that you are recording. Point out any areas of the room that will not be captured on camera where they can sit should they not want to be recorded.
- PowerPoint: Open your slides - when you play the slides Panopto will know to record them.
- Start Recording: Click the 'record' button in Panopto to start recording.
- Pause and resume the recording: Click the Panopto 'pause' button (F9 keyboard shortcut) if you want to pause the recording, for instance to take questions. Do the same to resume the recording.
- Stop recording: Click 'Stop' to end the recording.
Release the recording to students
- Log into Panopto
- Go to your ‘Myfolder’
- Click on the ‘Settings’ for the recording and edit the folder to the correct module code and click save.
More details
Folder options
Once open select the folder you want to store the recording in from the following options.
- Myfolder: Use this if you want to edit or view the recording before releasing it. You will need to follow the release guidance
- Module folder: Use this if you want to release the recording immediately. Select Canvas, you will then see the list of modules, select the module you want.
Camera options
Some rooms have different camera options:
- Select ‘None’ to stop the camera recording.
- Select ‘Sandberg USB Webcam Pro’ to record using the screen mounted webcam. This will give you the best results, particularly if you are standing behind the lectern during delivery.
- Select ‘AW-UE4’ to record using the ceiling mounted camera. Only use this if you want to capture the whole of the room.
Select microphone
Audio quality is important for captions and to help students understand what you are saying. This is why the Revolab microphone is the best option.
- Select ‘Sandberg USB Webcam Pro’ to record audio using the screen mounted webcam. This will give around 3 meters of recording area around the microphone. Going beyond this the audio quality will deteriate. Please note: Use this if you tend to stand behind the lectern during delivery.
Document camera or visualiser
These rooms tend to have a Wolfvision visualiser. To record using this camera do the following before starting the recording:
- Turn the visualiser on using the button in the corner of the visualiser base plate
- Place whatever you wish to show underneath the camera
- In Panopto – click ‘Add another video source’
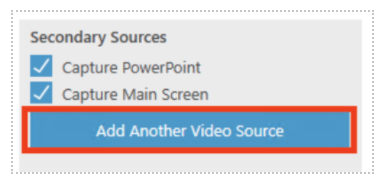
- Select ‘PC camera’ from the drop down menu.
- When you want to show the document camera on the screen select it from the different sources on the Extron panel in the middle of the lectern. This will record the camera as a different source allowing the student to select it when viewing the recording.