The Rick Content Editor (RCE) provides you with the tools you need to create and add content to your course.
The toolbar has been re-designed to include grouped menus, allowing you to quickly gain access to the tools you need the most. There's also a text based menu, so you can choose whether to use icons in the toolbar, or the file menu to update your content.
New: RCE Icon Maker
The new icon maker allows you to create simple and reusable Icons directly inside Canvas. You could use them on your homepage to help signpost information or help improve the visual interest of your course. You can configure your icon using a number of options, including text alignment, background colour, text colour and images.
Guides
Documents
To add documents, you need to click on the documents icon in the toolbar, click the drop down arrow for more options, including the option to Upload a Document, View Existing Course Documents, or access your personal user documents in Canvas.
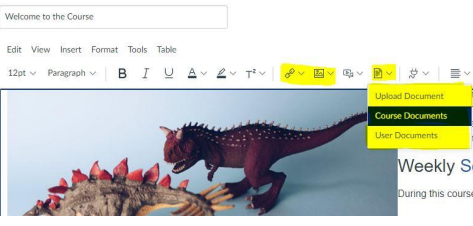
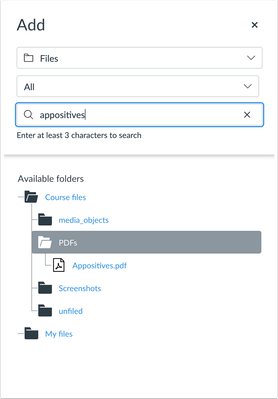
Selecting any of these options opens up a panel that allows you to browse and search for documents.
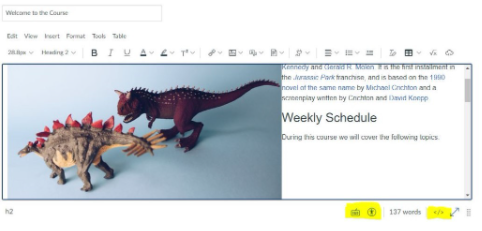
Expanding and Minimising your View
You can now expand the editor to full width of your screen. You’ll find this option alongside the accessibility tools, beneath the editor. Once in full screen mode, you can press ESC on your keyboard to exit, or use the text-based menu and select ‘view/full-screen’ to exit.

You can also use the status bar icon to increase the editing space without going into full screen mode:

Headings
You may not have noticed them in the old RCE, because they were the last option in the toolbar, but Headings have now moved to the top. Using the headings structure in your text makes the content more accessible to students. Ensure you use the Heading levels to represent titles and nested elements in your content.
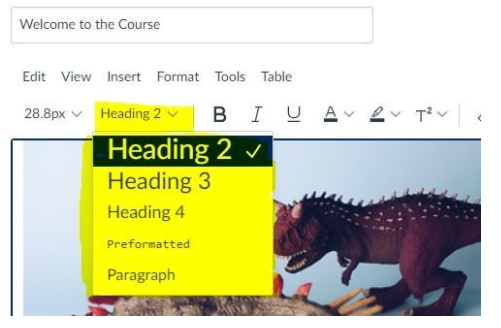
Tip: Avoid using particular fonts or text decoration as this can make it difficult for students to read text. Use the default heading structure to increase and decrease the size of your text.
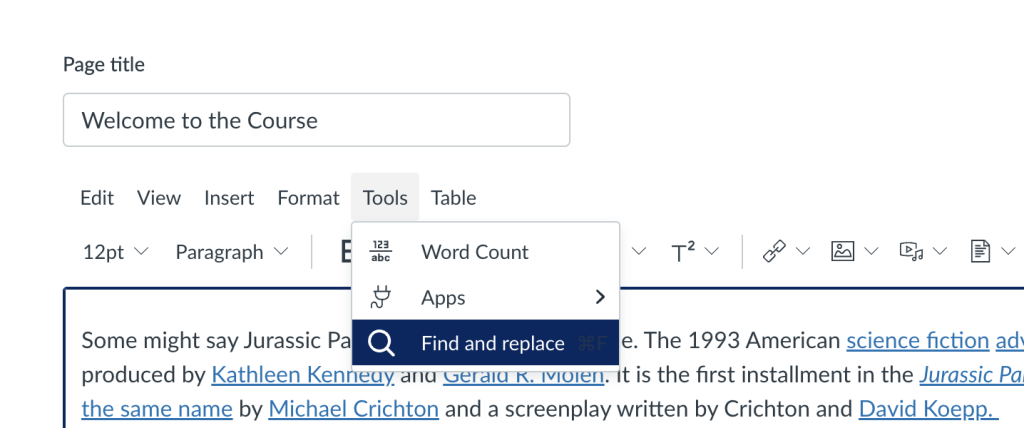
Find and Replace
Use the find and replace tool in Canvas for efficient data extraction, transformation, and manipulation.
Accessibility and HTML
The accessibility option has now moved further down the page, beneath the editing space. A new option also includes keyboard shortcuts, providing a list of activities and their keyboard equivalents.
Please consult LJMU Making your content accessible for further help.
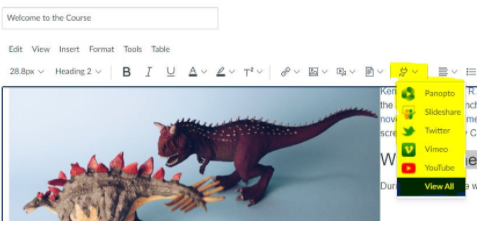
External Tools
External tools are no longer displayed in the toolbar, but are now available in the ‘Apps’ group. Click on the ‘Apps’ icon to see options for adding content from:
- Canvas Commons
- Microsoft Office 365
- Panopto
- SlideShare
- Vimeo
- YouTube
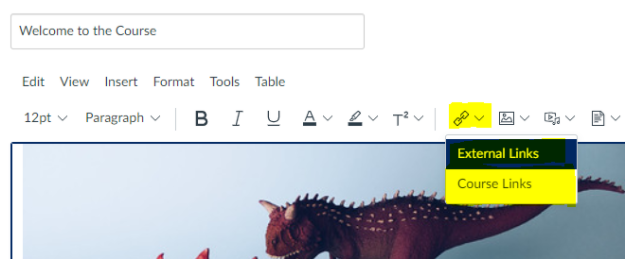
Hyperlinks
You can now use the link icon to provide quick links to URLs outside of Canvas as well as other sections of your course. Similar to adding documents, see above, you can now search links within the course, so that they can be re-used across the site with ease.
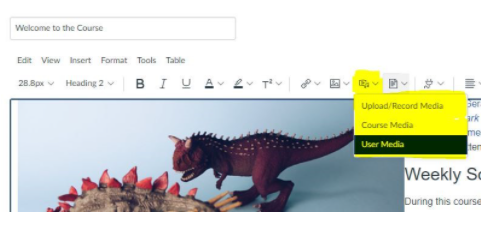
Adding Media
There are now additional, alternative options for adding media to your course. You can add content from your course files space, or even from your own User space in Canvas:
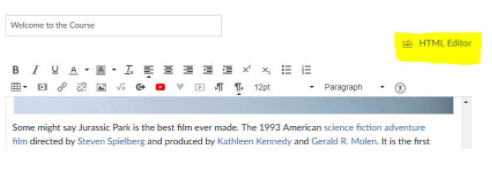
HTML Editor
The HTML editor is also now incorporated into the toolbar: