This guide will help you add images to canvas which are fully accessible for those with a visual impairment.
There are essentially two types of images that you may be adding to canvas:
- The first is a decorative image which is there simply to brighten up the page and make it more engaging. This kind of image does not convey important instructional information and there is no need for you to provide alternative text.
- The second is using an information image. In this case you must add alternative text to help those with visual impairment understand the information you are trying to convey through the image.
Add a new image
- Edit the Canvas page, announcement or discussion board post.
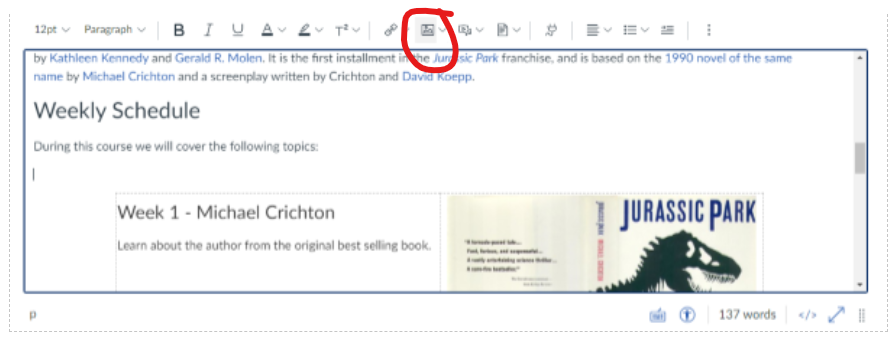
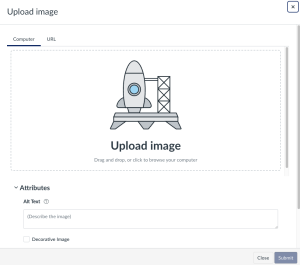
Rich Content Editor - Picture Tool - Click on the image icon and either upload your own image or select one already uploaded to your course. Apply the decorative image status to your image if it is being used for visual purposes, or if this image contains information that the user would find useful or if they is information that is being conveyed in the image, add this information into the Alt text box.
Editing an Image
- Edit the Canvas page, announcement or discussion board post.
- Select the image and then click on the 'Image options' button
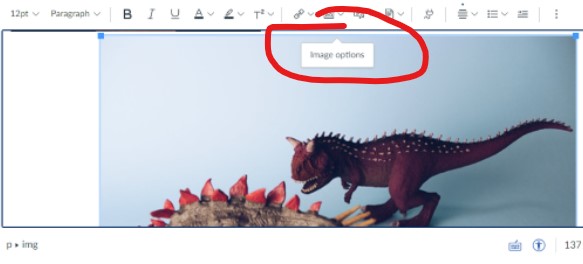
- A panel will appear, apply the 'decorative image' option for a decorative image or add a description of the image if the image conveys information into the 'Alt' box and click 'Done' at the bottom of the page.